


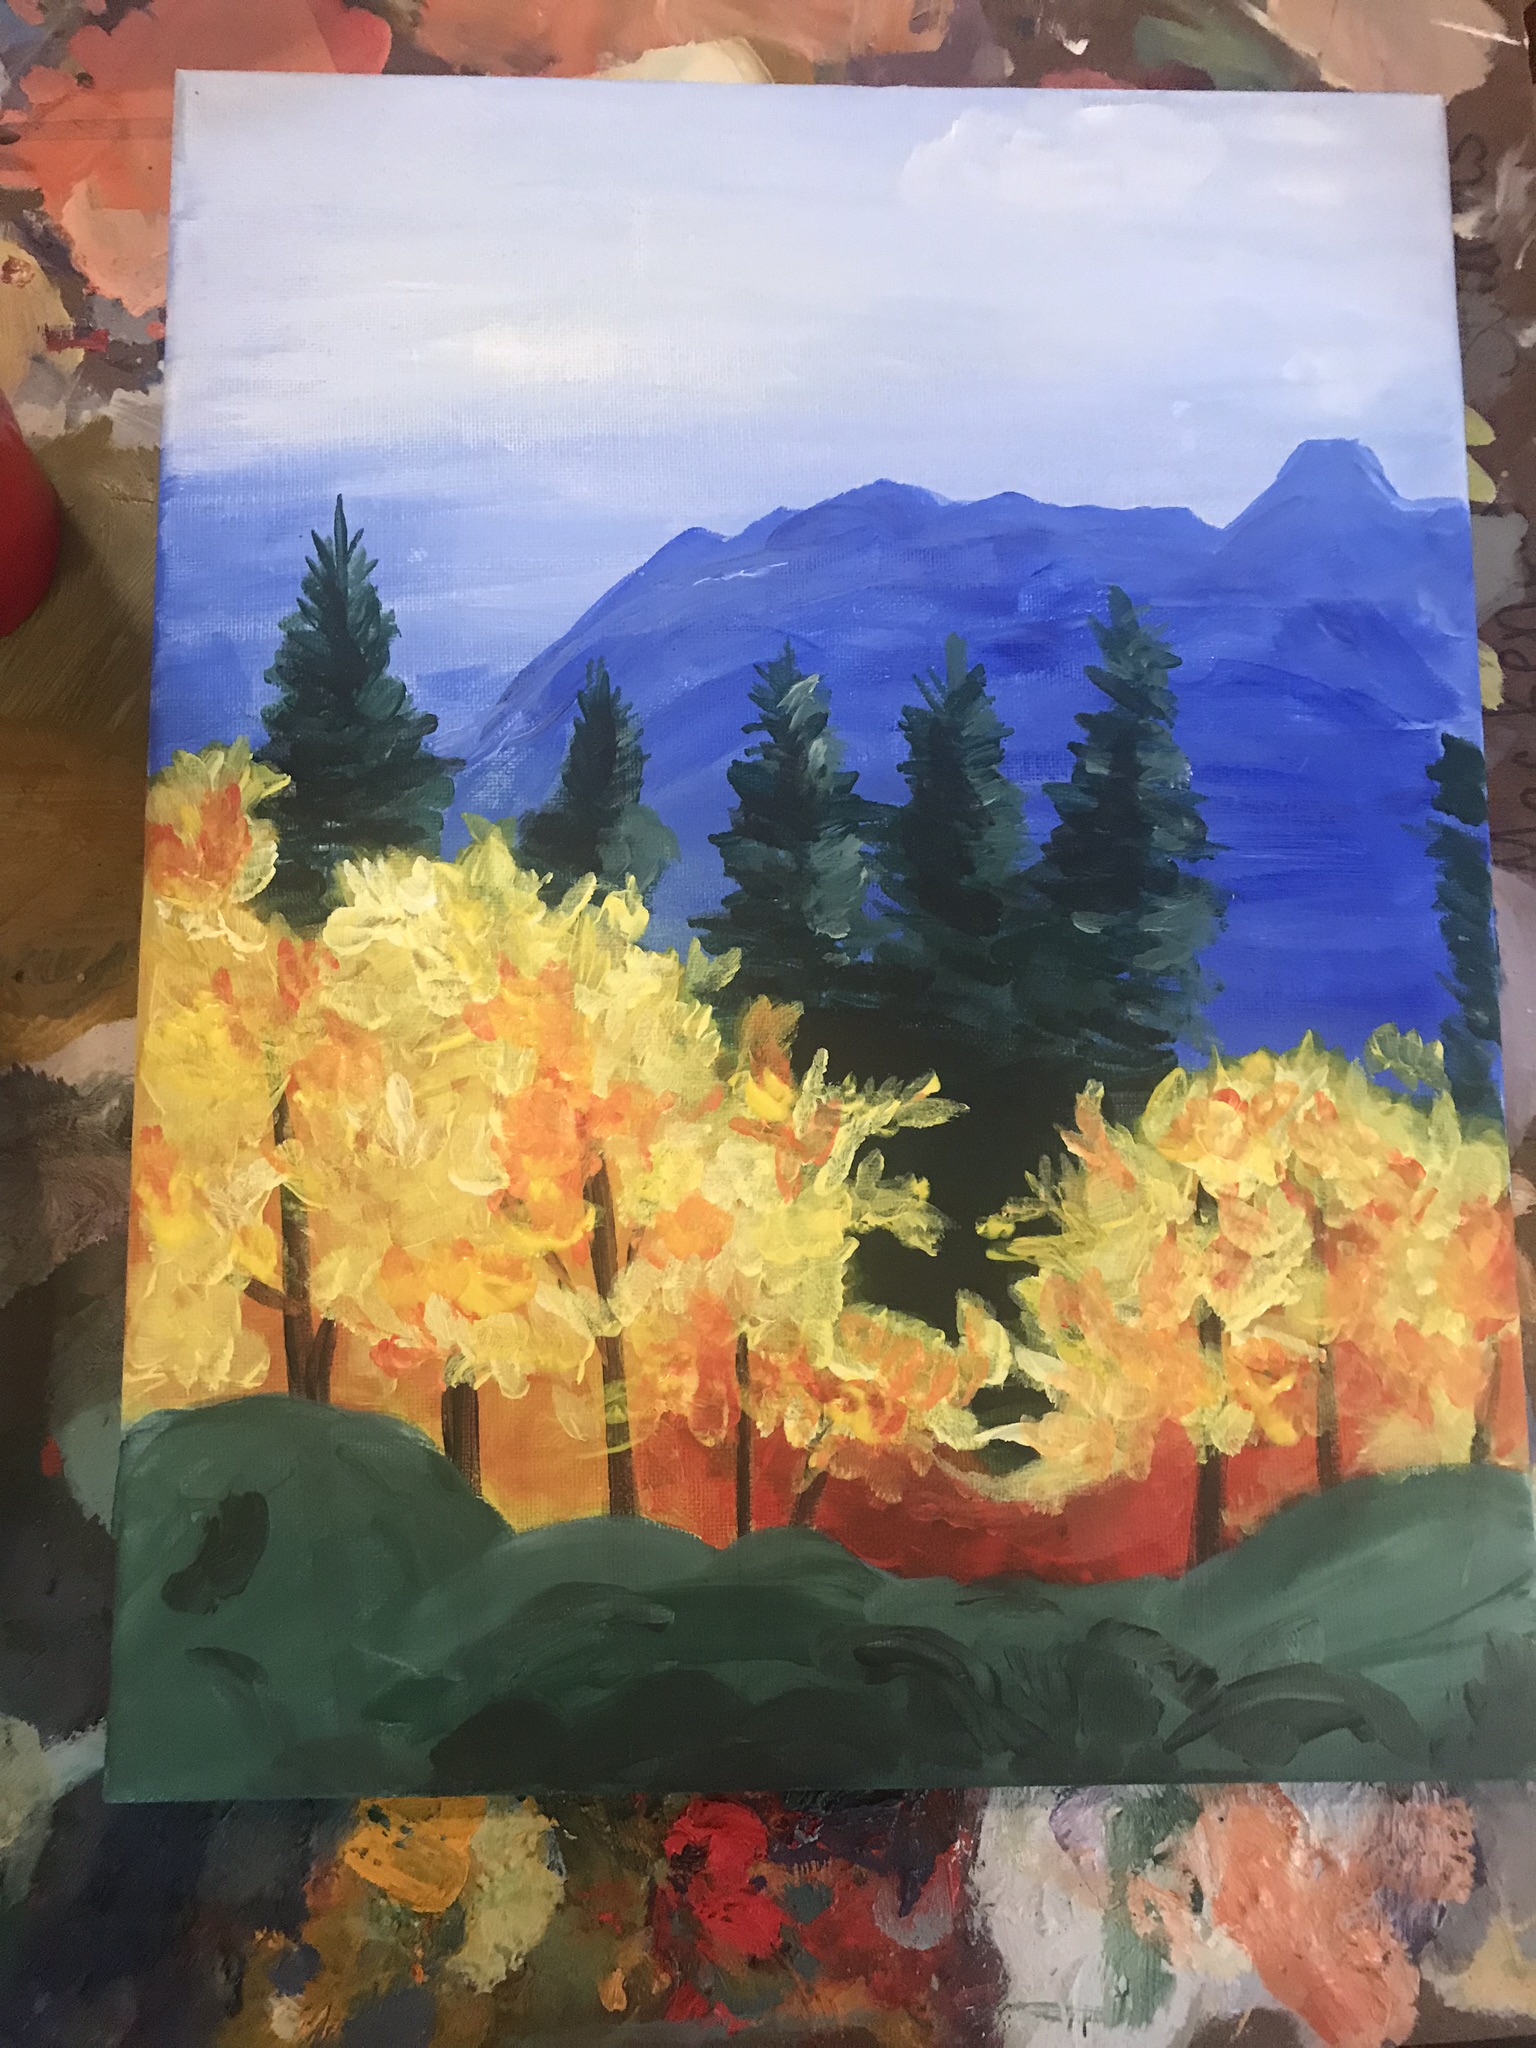
I had the opportunity to lead a paint and sip session for a women’s retreat last fall. These are the step by step instructions of the autumn mountain landscape painting we did. If you are interested in hosting your own Paint and Sip Party, please visit the contact page for prices, available bookings, and a theme of your choice.
Materials:
- Acrylic paint: White, Black, Red, Yellow, Blue, Green (other colors optional)
- Canvas
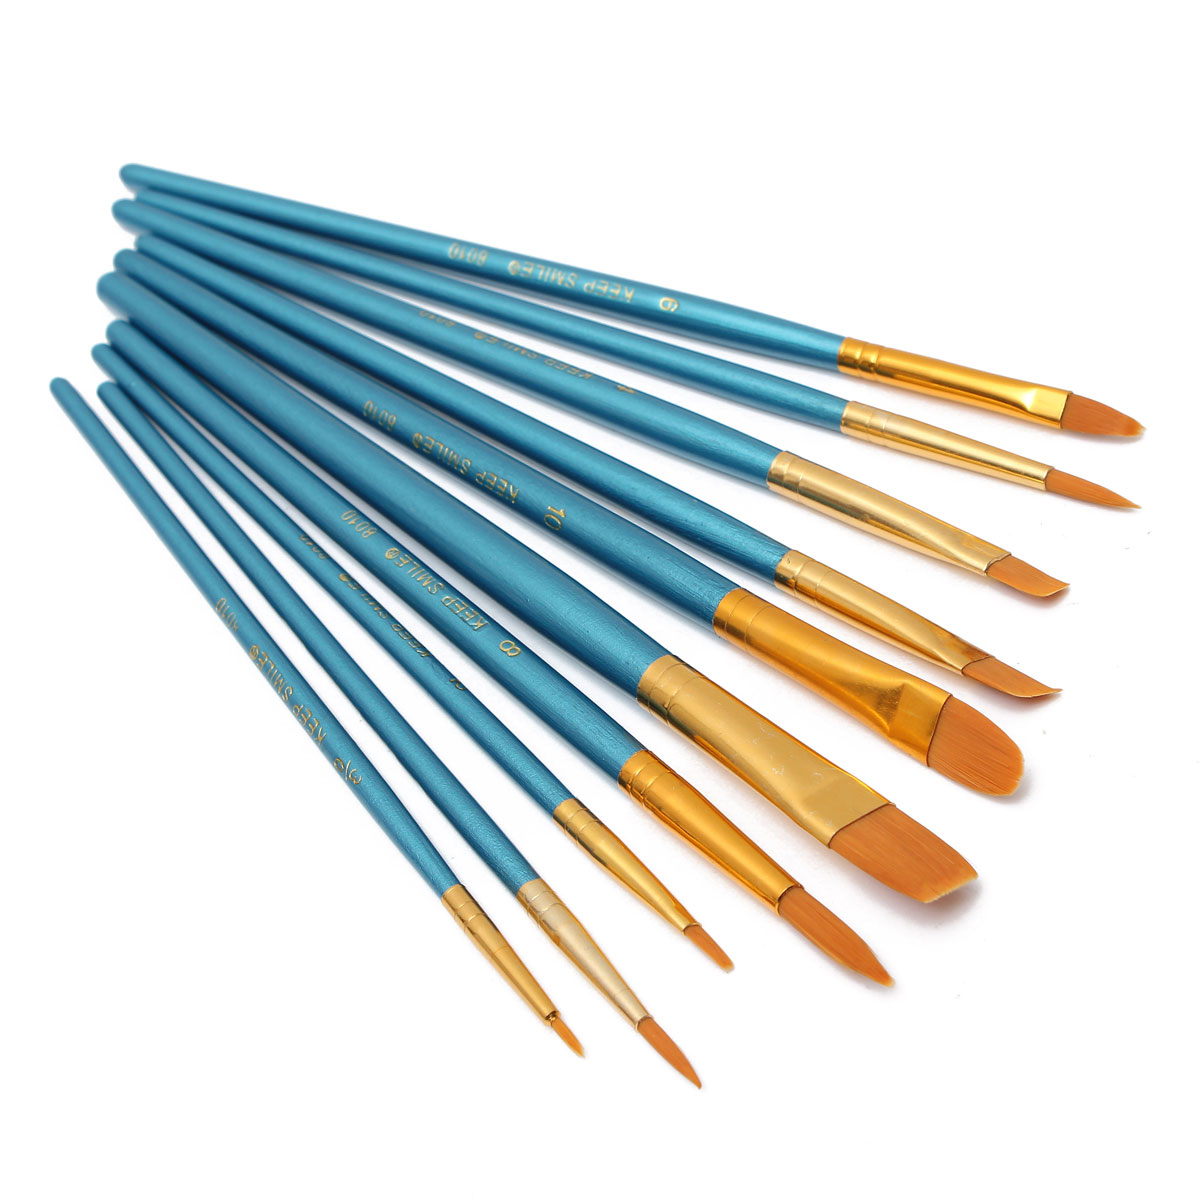
- Paint brush: round and flat, 2-24 range, mixture of large and small (see picture for an example)
- Cup of water
- Cloth or paper towel
- Palettes or disposable plates
Some tips:
- Cover the entire canvas with paint
- Layer, layer, layer
- Work back to front
- Let the paint dry between each section
- Paint with a mix of colors, rarely use colors straight out of the tube
Steps:
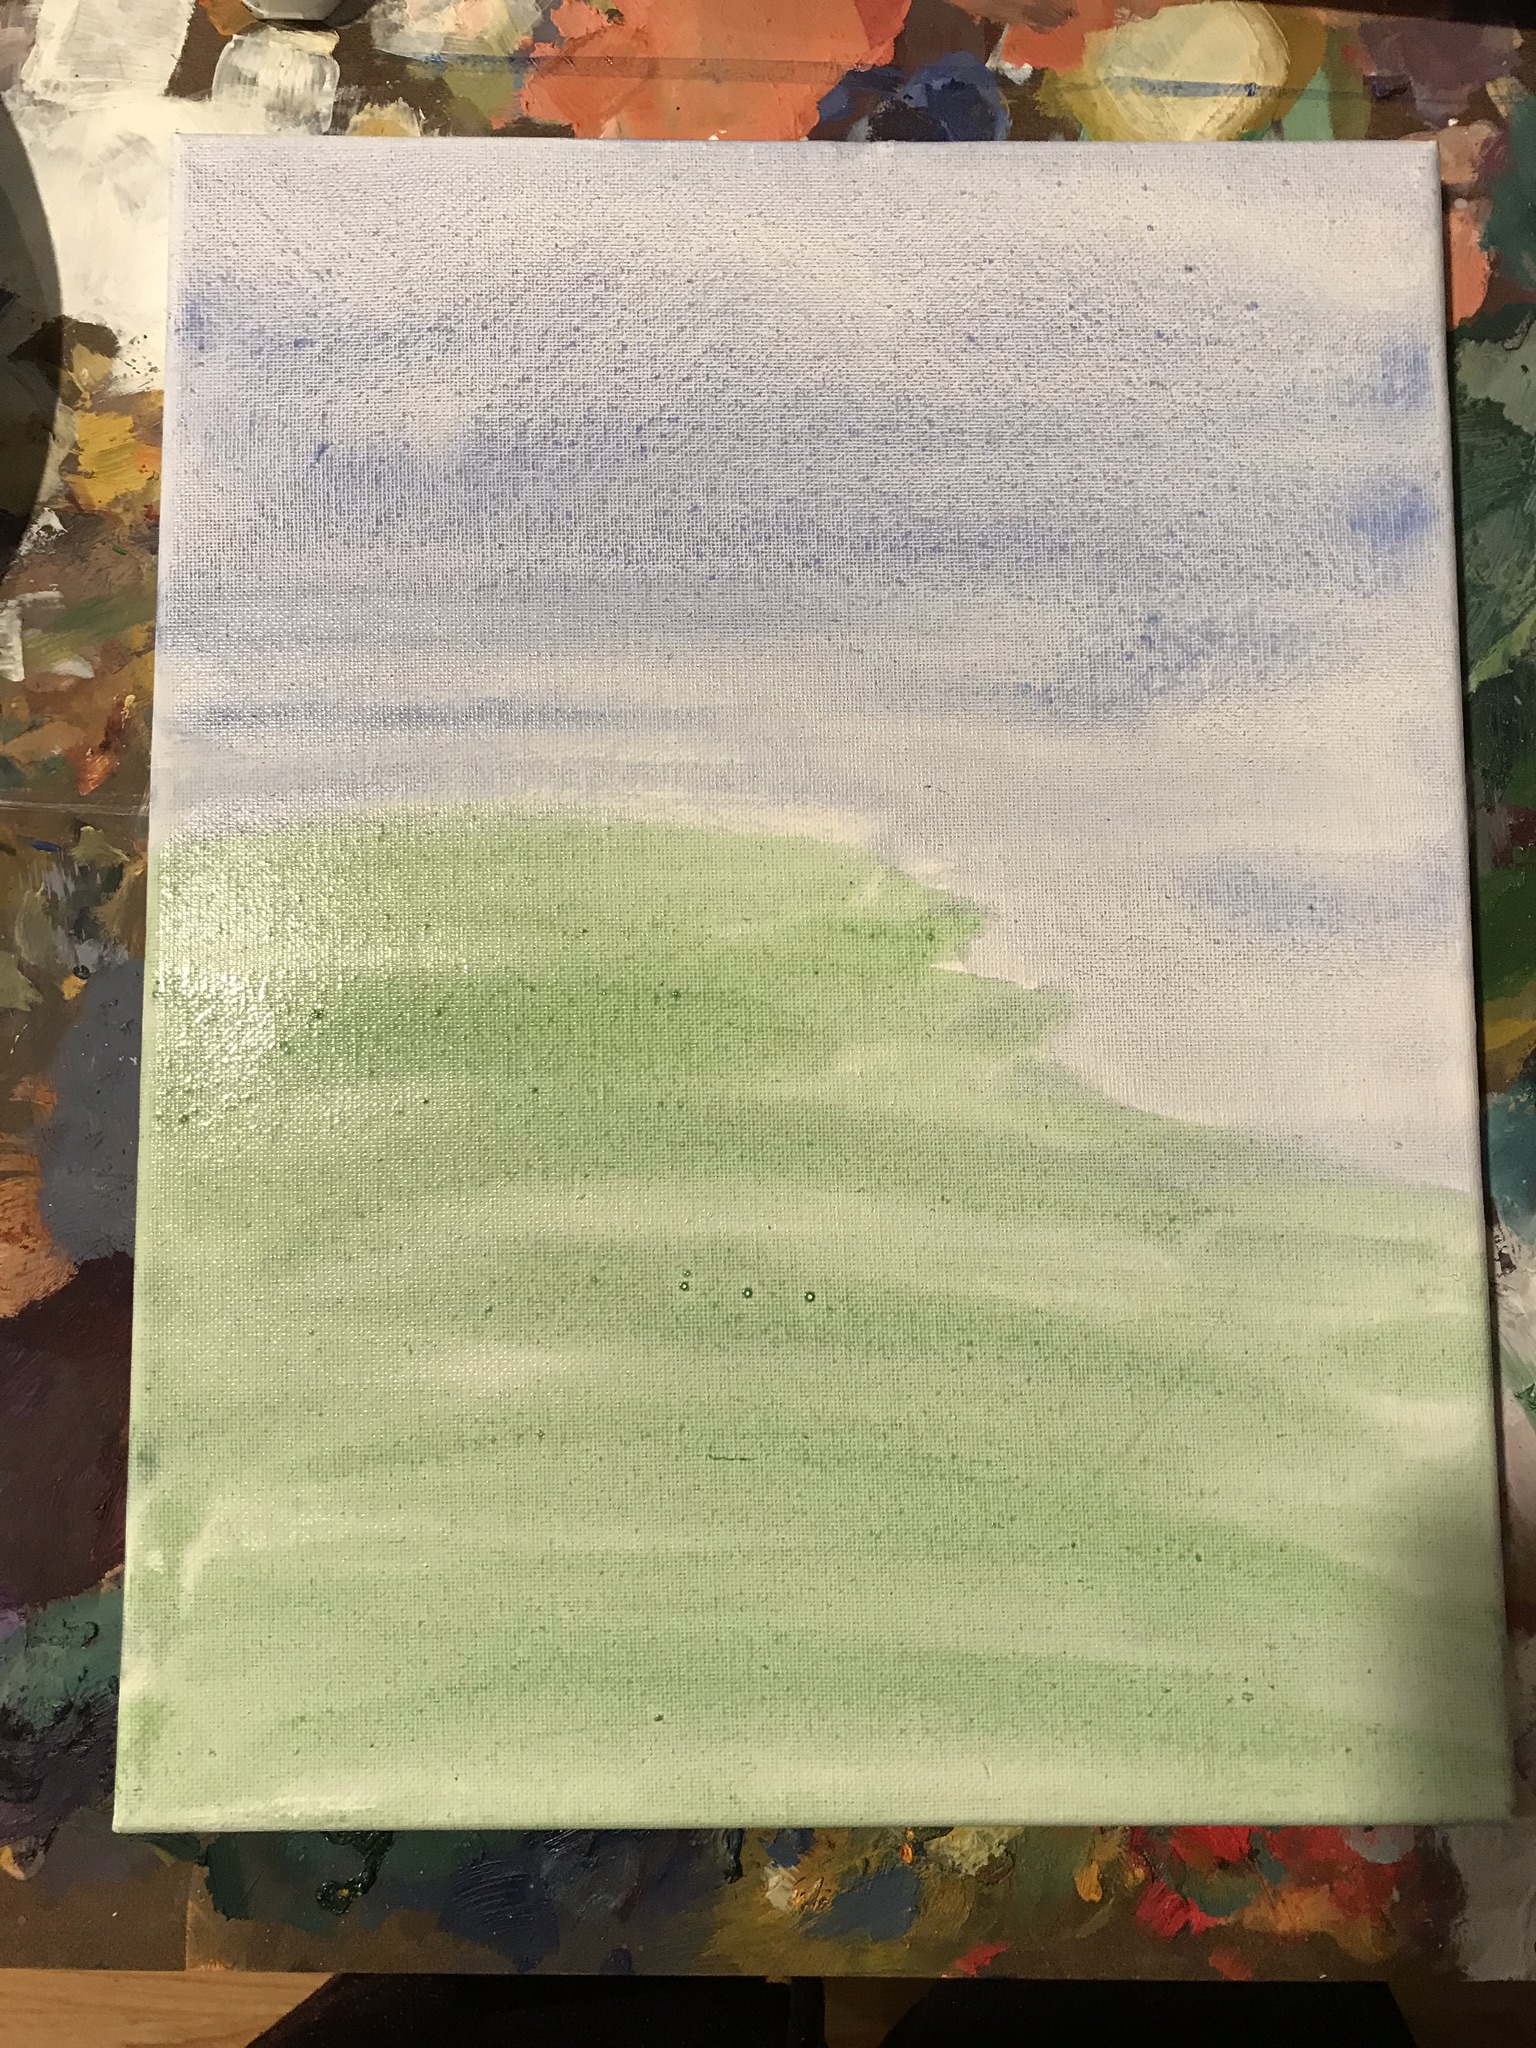
- Begin with laying down a wash over the entire canvas. With your largest brush, cover the canvas with a mix of water and blue on the top ⅔’s and a mix of water and green on the bottom ⅓. Use plenty of water and be paint quickly and freely.

- Paint the deep blue of the mountains using blue and a bit of red. Use a flat brush.
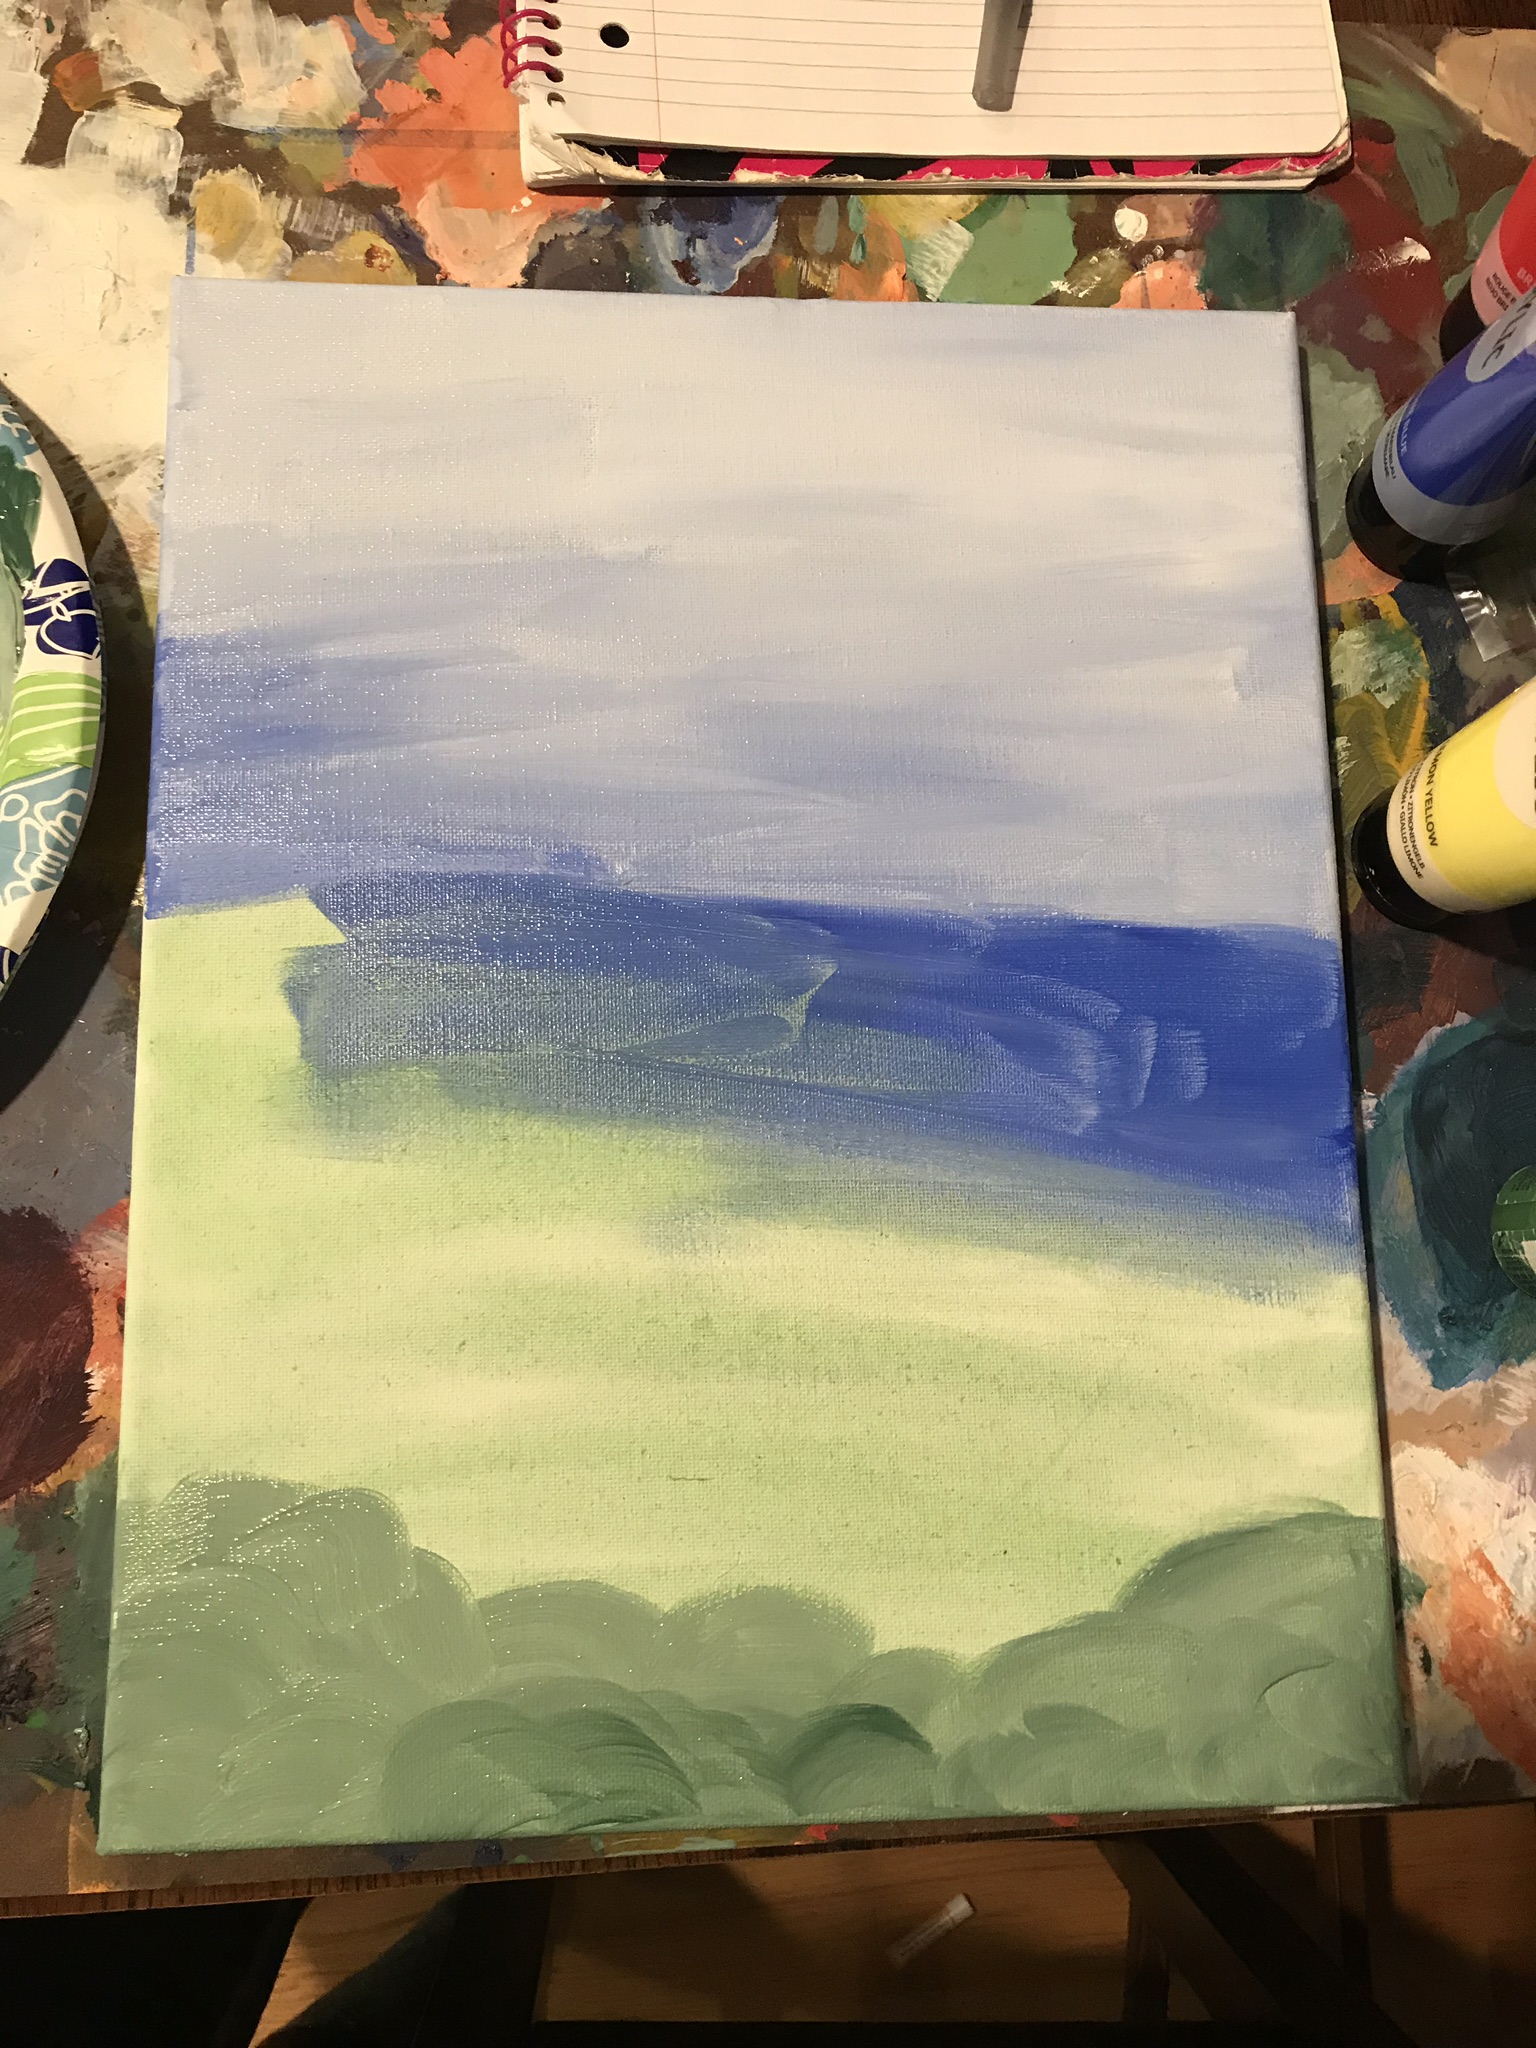
- Create the sky with whites and blues, blending together in horizontal streaks before the paint dries. Create details of white for clouds using a medium round brush and circular motions.
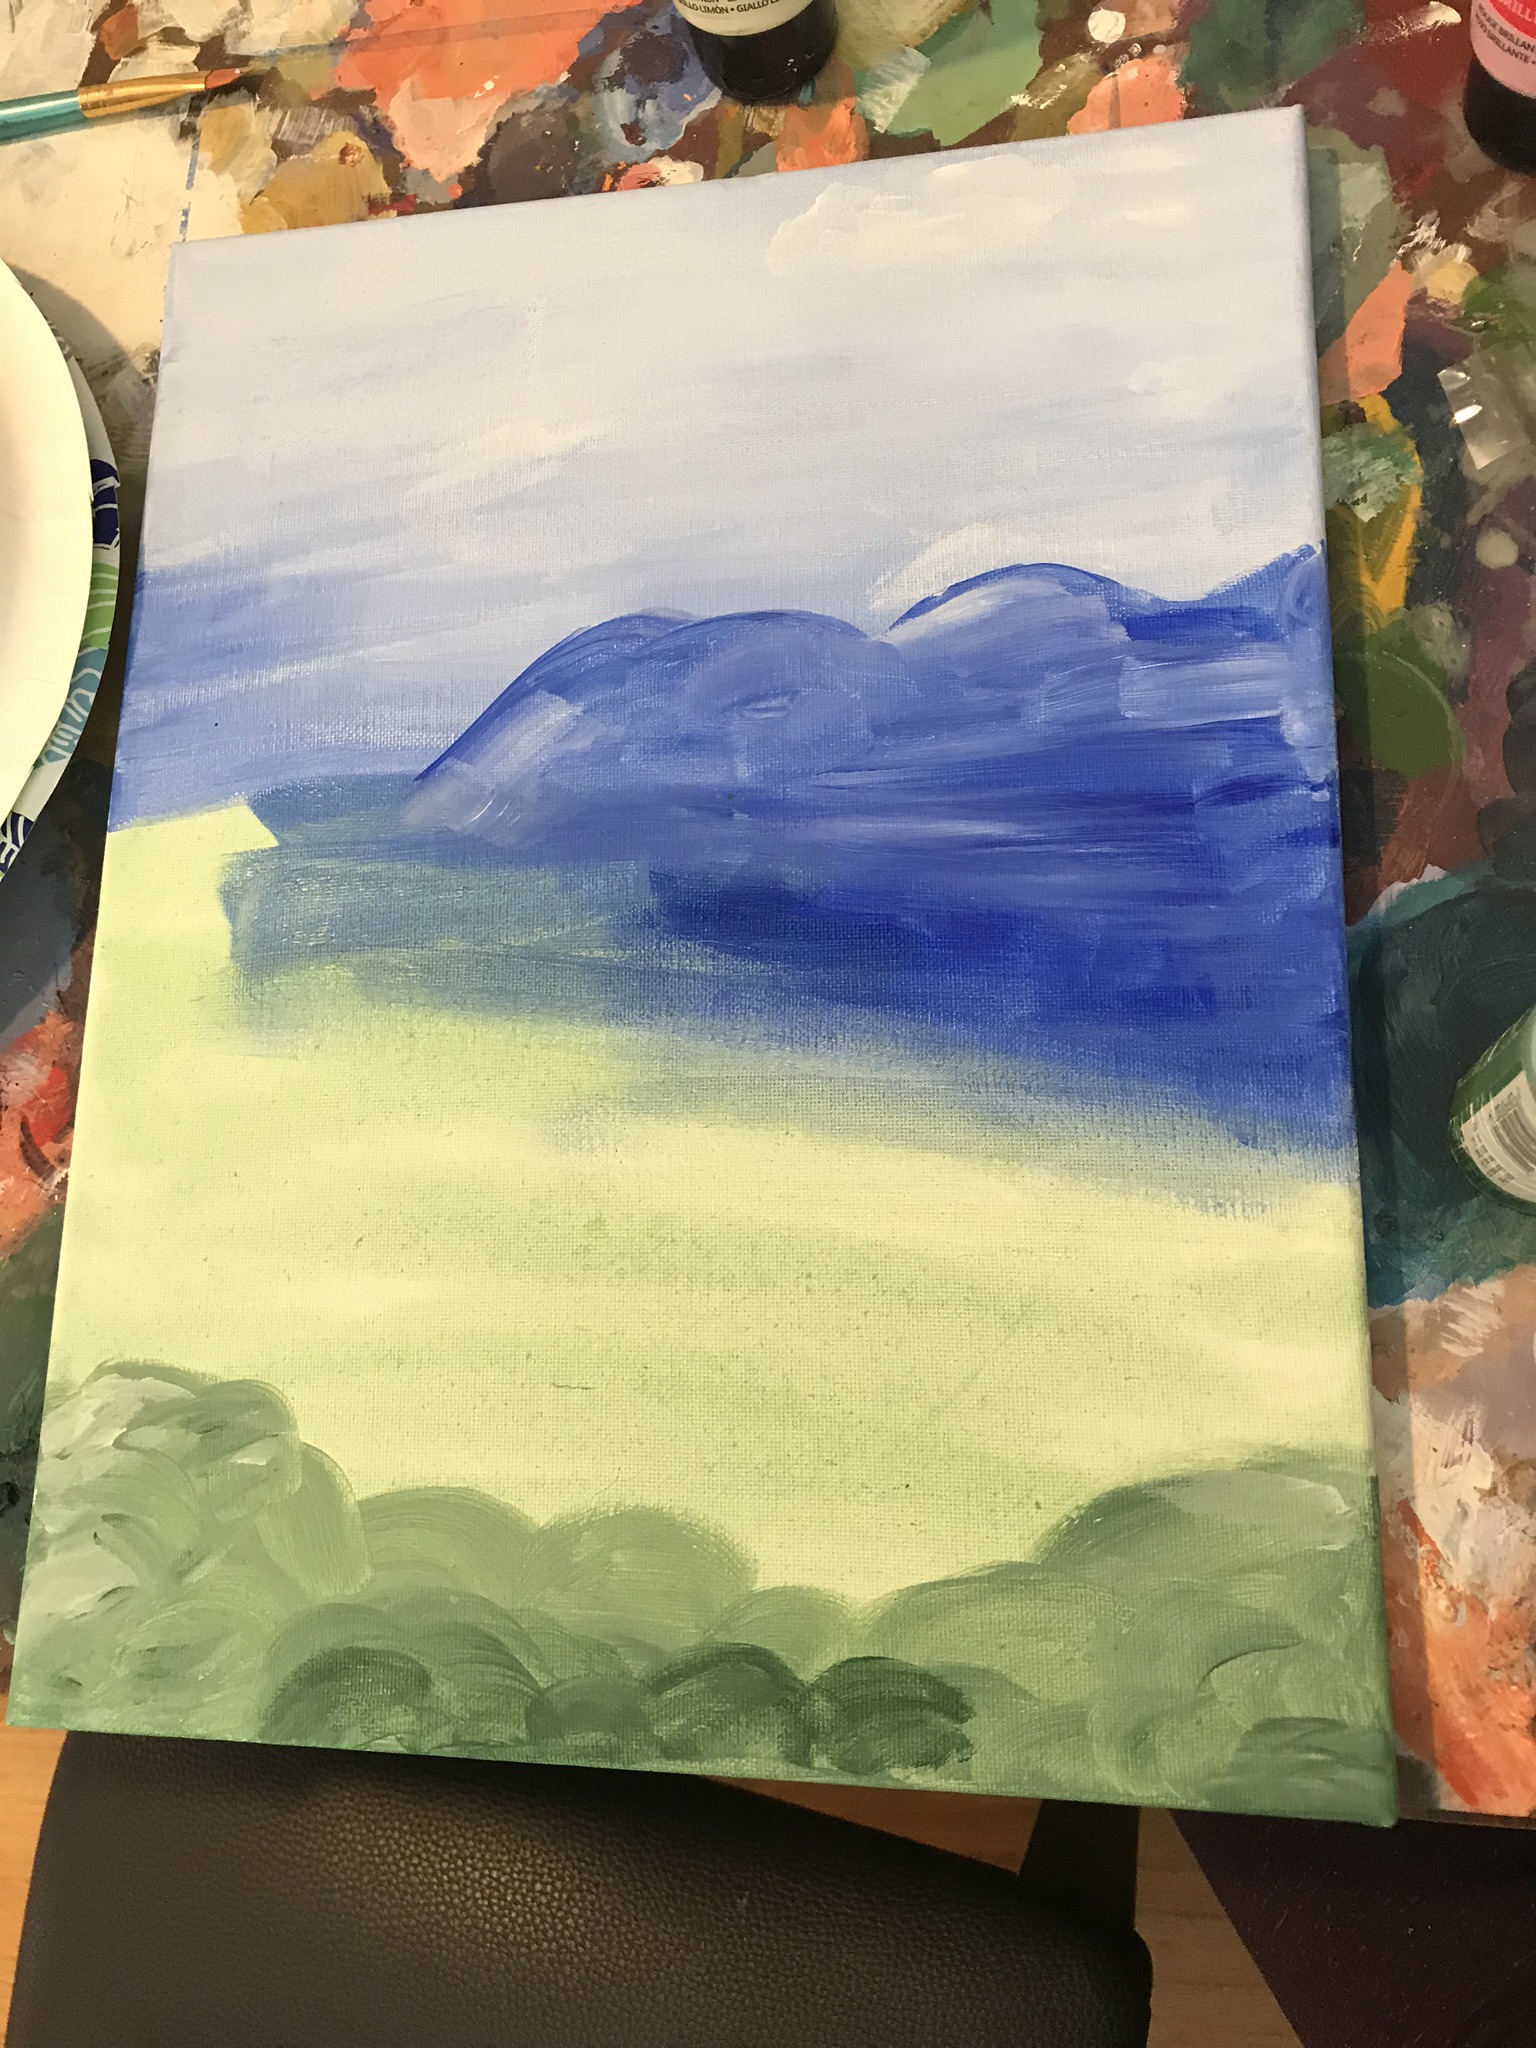
- Draw bushes in the foreground while the sky dries using green.
- Once the sky is dry, begin layering colors for the mountains. Use blue and a blue and red mix. Mix the blues and purples with white and black for a range of highlights and shadows. This will create an illusion of depth.


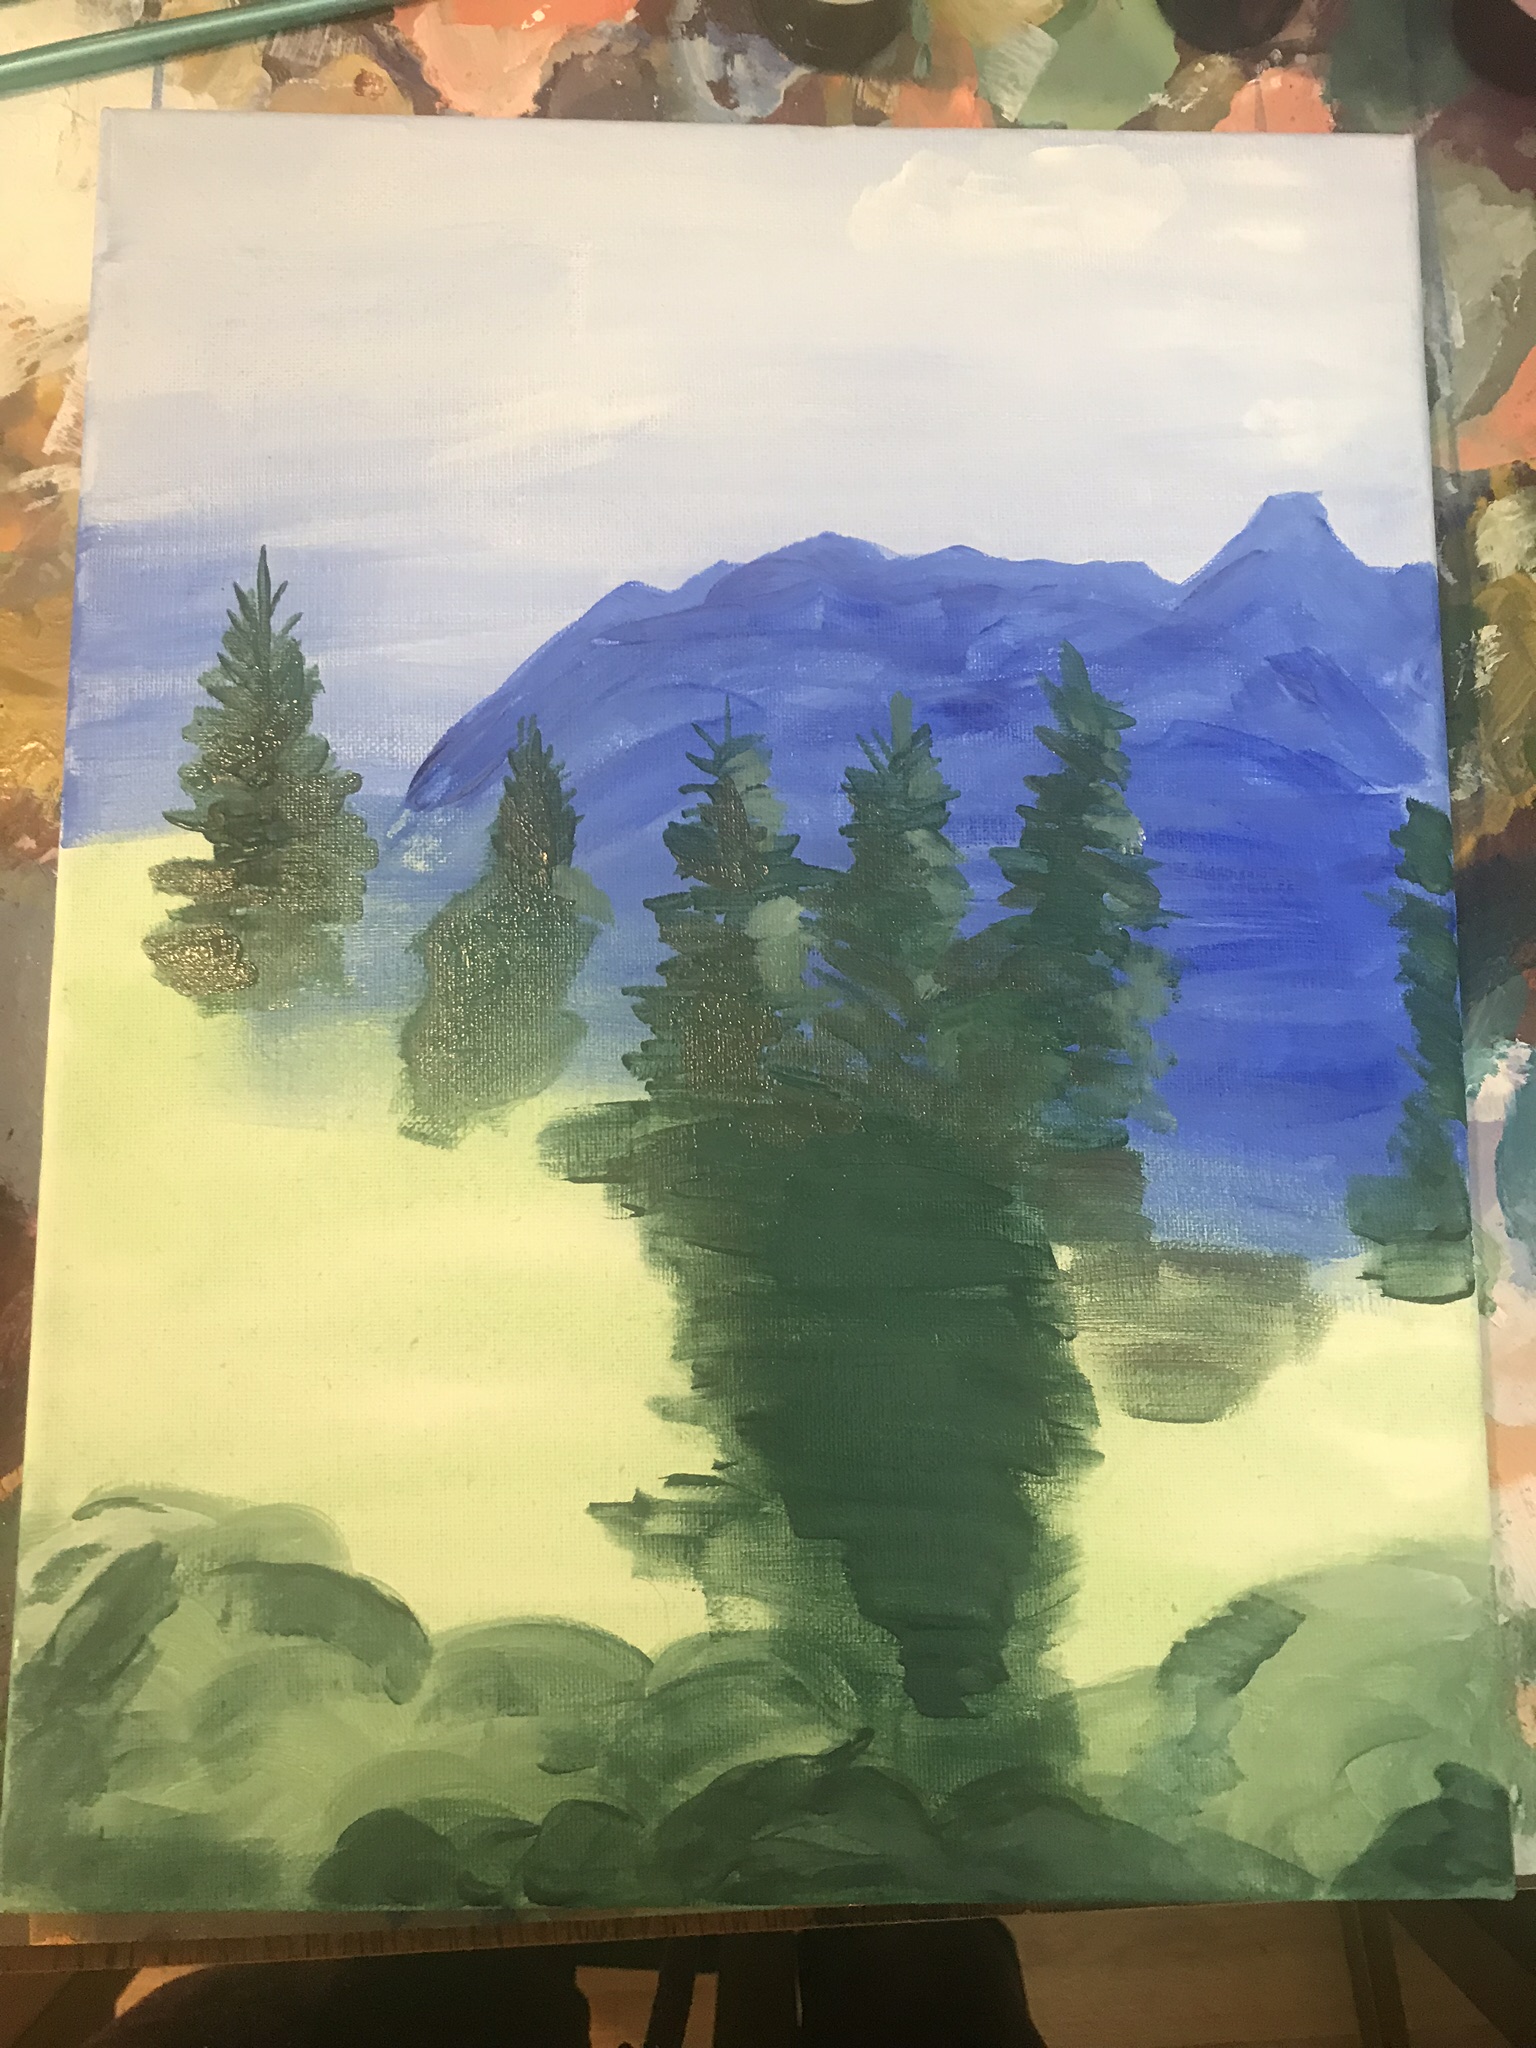
- Begin creating trees for the middle ground. Draw the details of the tree tops and then paint an expanse of green just to the right of the center. Use a small flat brush and dab in the triangular shape. Next, add details to the bushes up front with mixes of green, blue, white, and black.


- Lay some orange and yellow shades around the trees and bushes. Use a round brush and simply block in the colors of orange and yellow, similar to the wash we did in Step 1. Paint a red yellow area directly below the detailed evergreens. Let dry and paint a second coat with more orange and red.
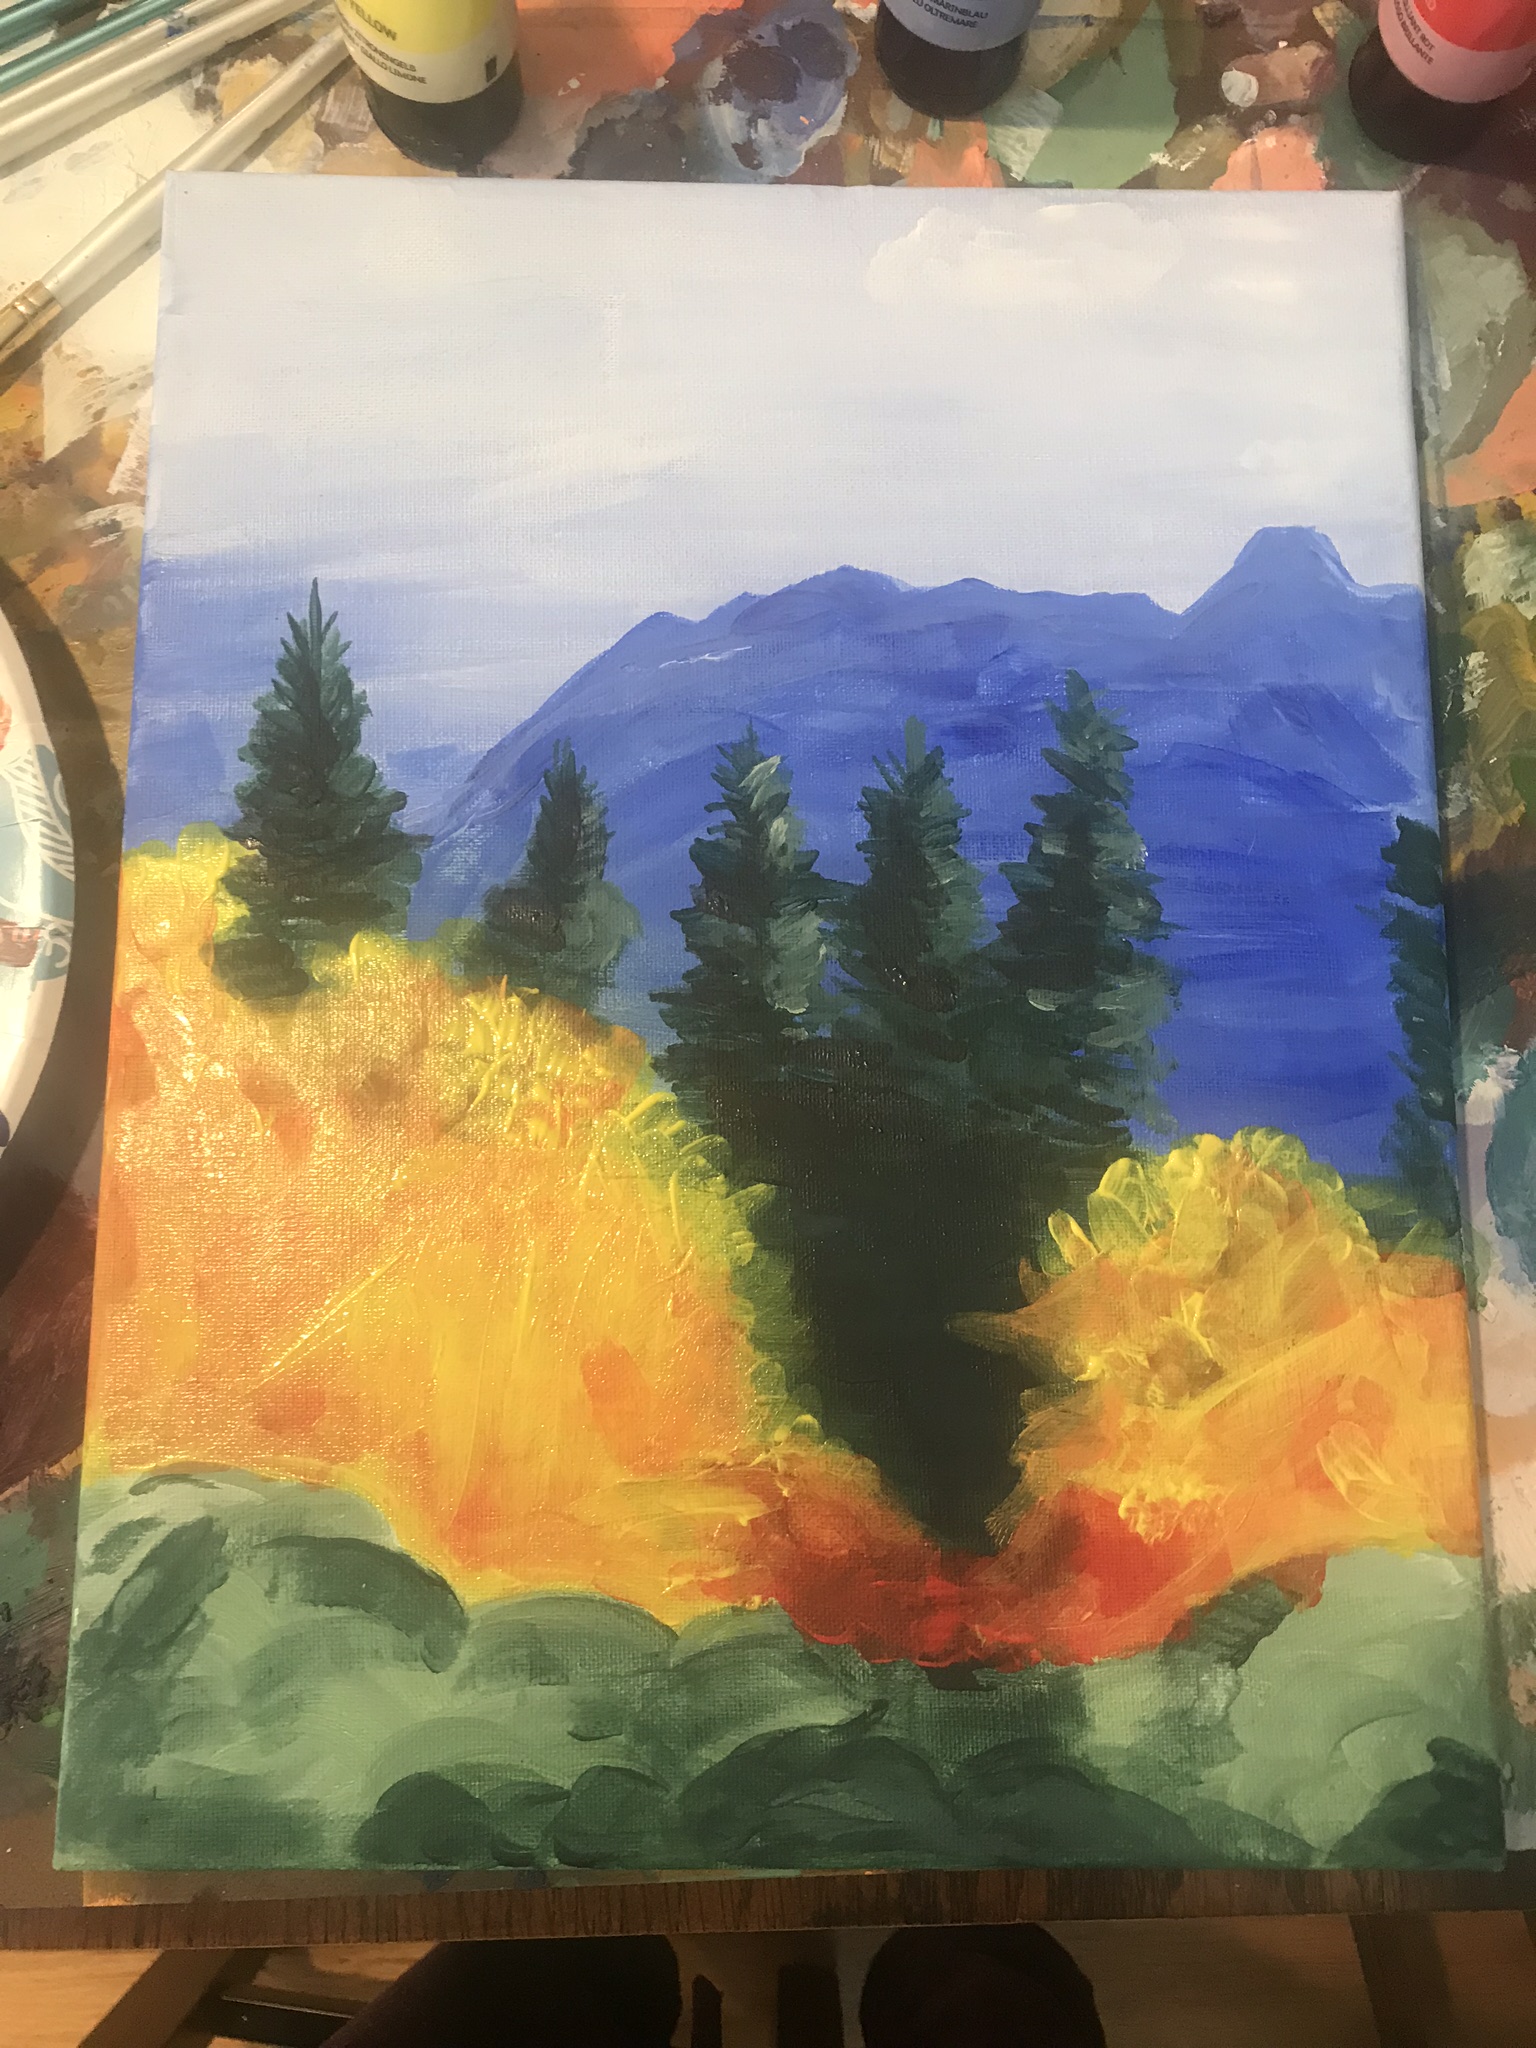
- Add more details to the evergreen trees. Dark shades on the left side of the tree and light shades on the right half of the tree. Dark shades are green with black, light shades are green with white.
- Let dry and then begin add shades of yellow and orange. Dab your brush to create an illusion of leaves. At this point, begin to get lighter, with more yellow.
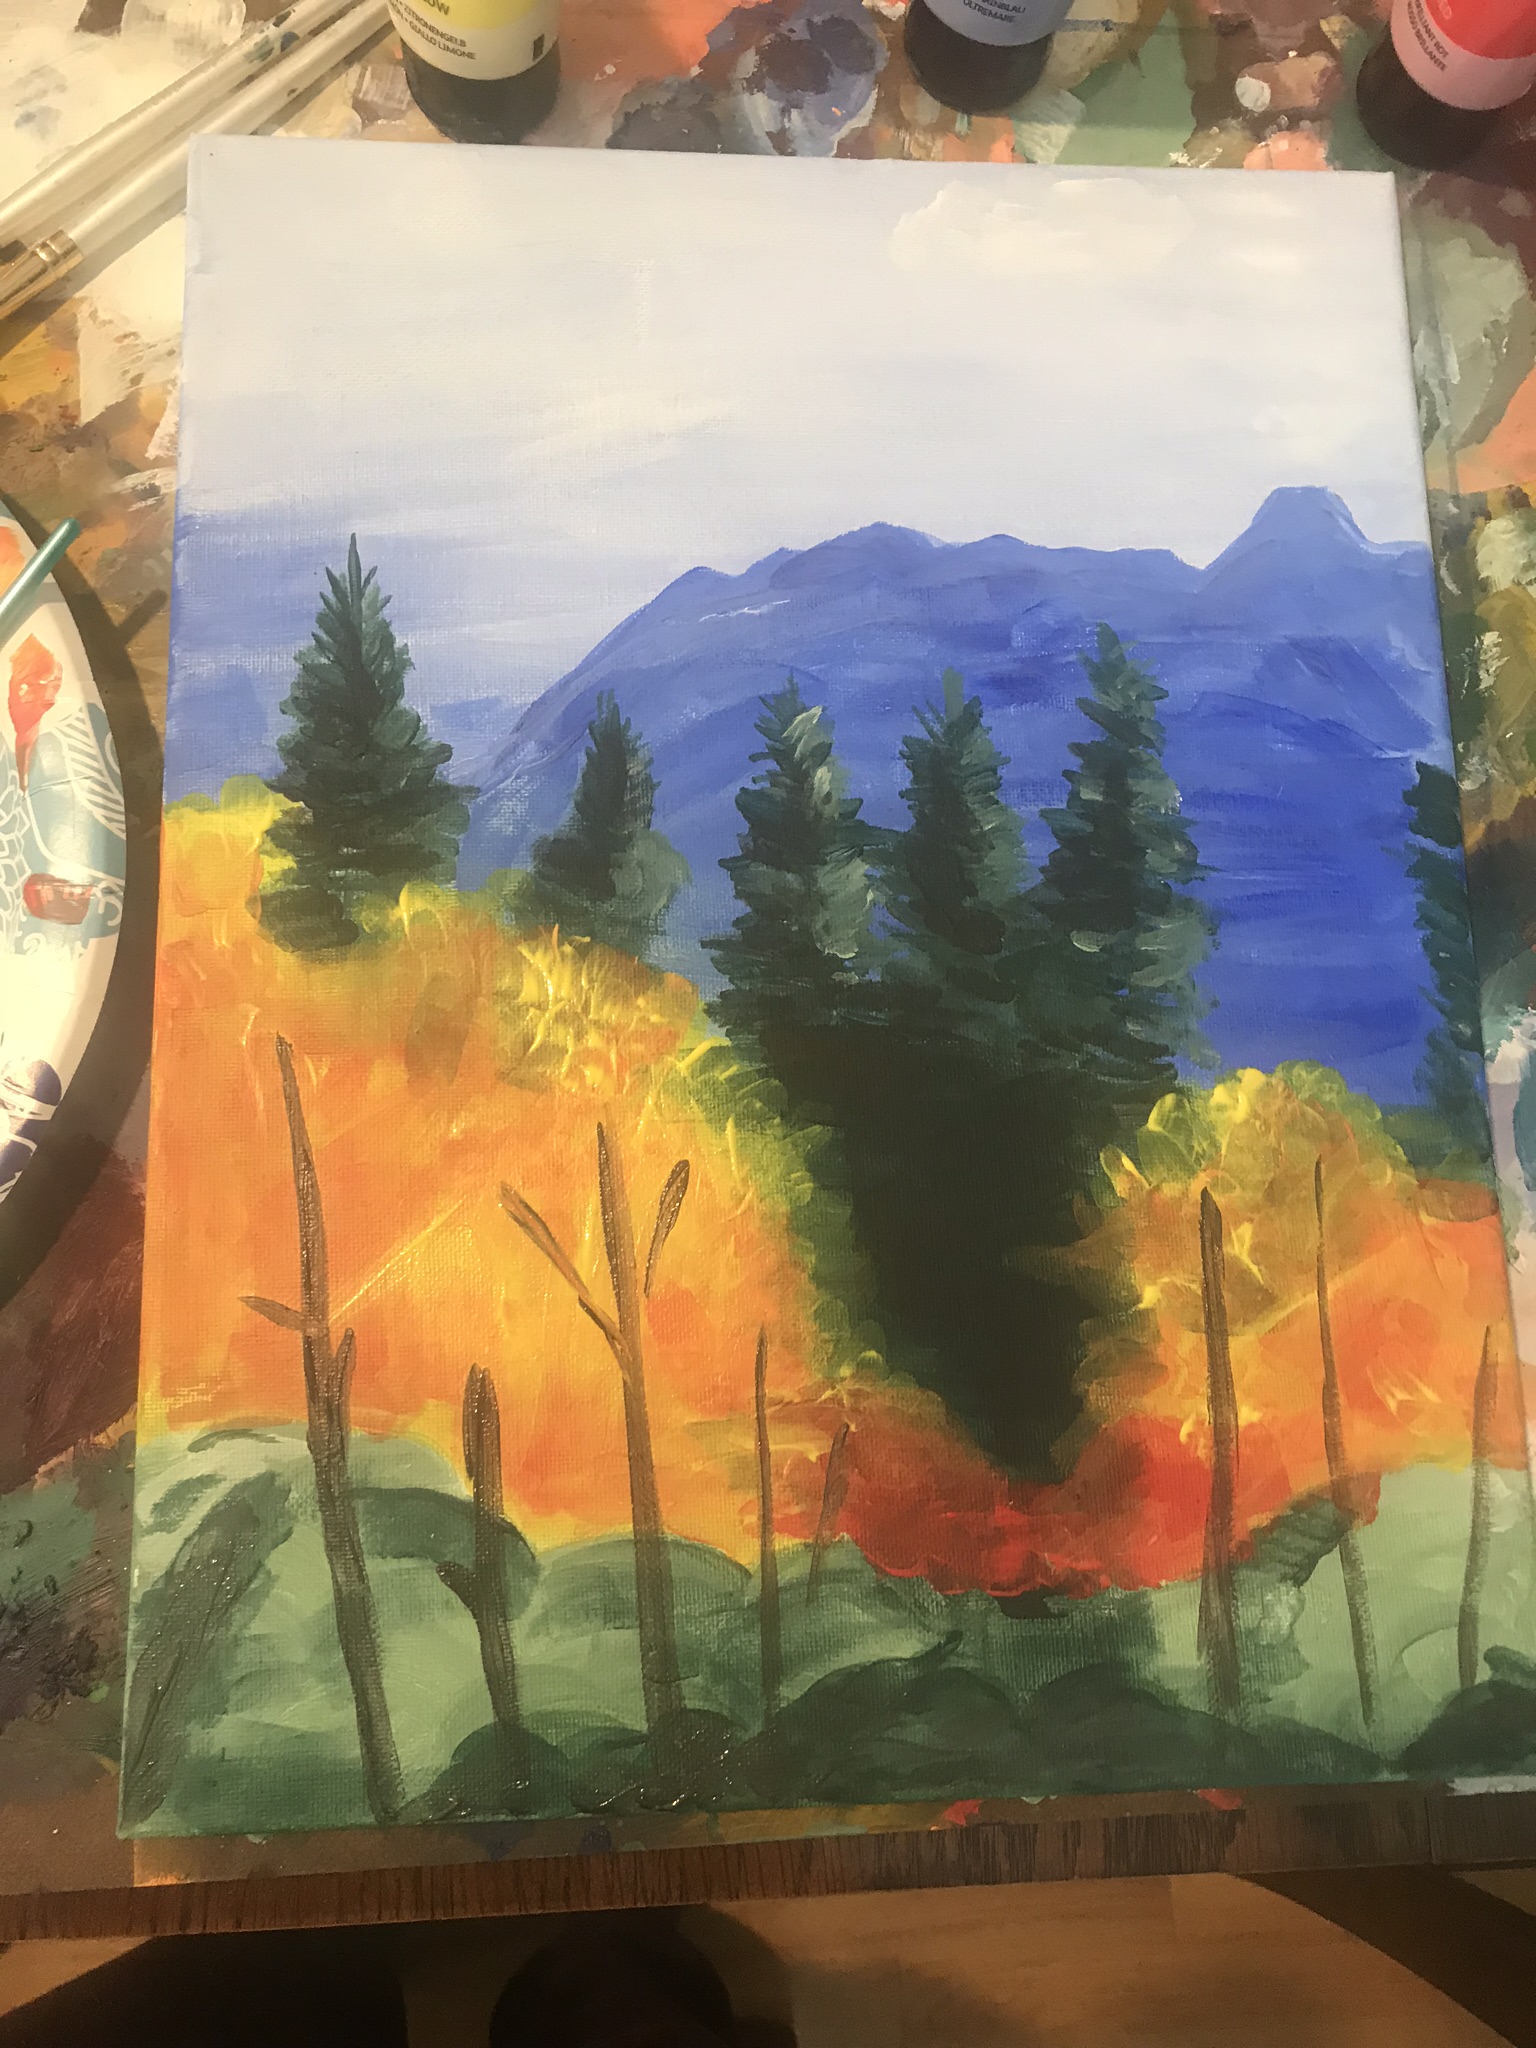
- Add tree trunks and branches with white or brown. I placed 5 on the left and 3 on the right of the evergreens. Add more shades of dark green (mixed green and black) to the bushes.
- When the trunks and branches dry, add more “leaves” on top and around. This time add more yellow and yellow white. Begin to cover and blend in the trunks by layering around and slightly on top.
- While you let the aspen leaves layer dry, add more shades of green to the foreground. Paint in half moon shaped strokes with a round brush.
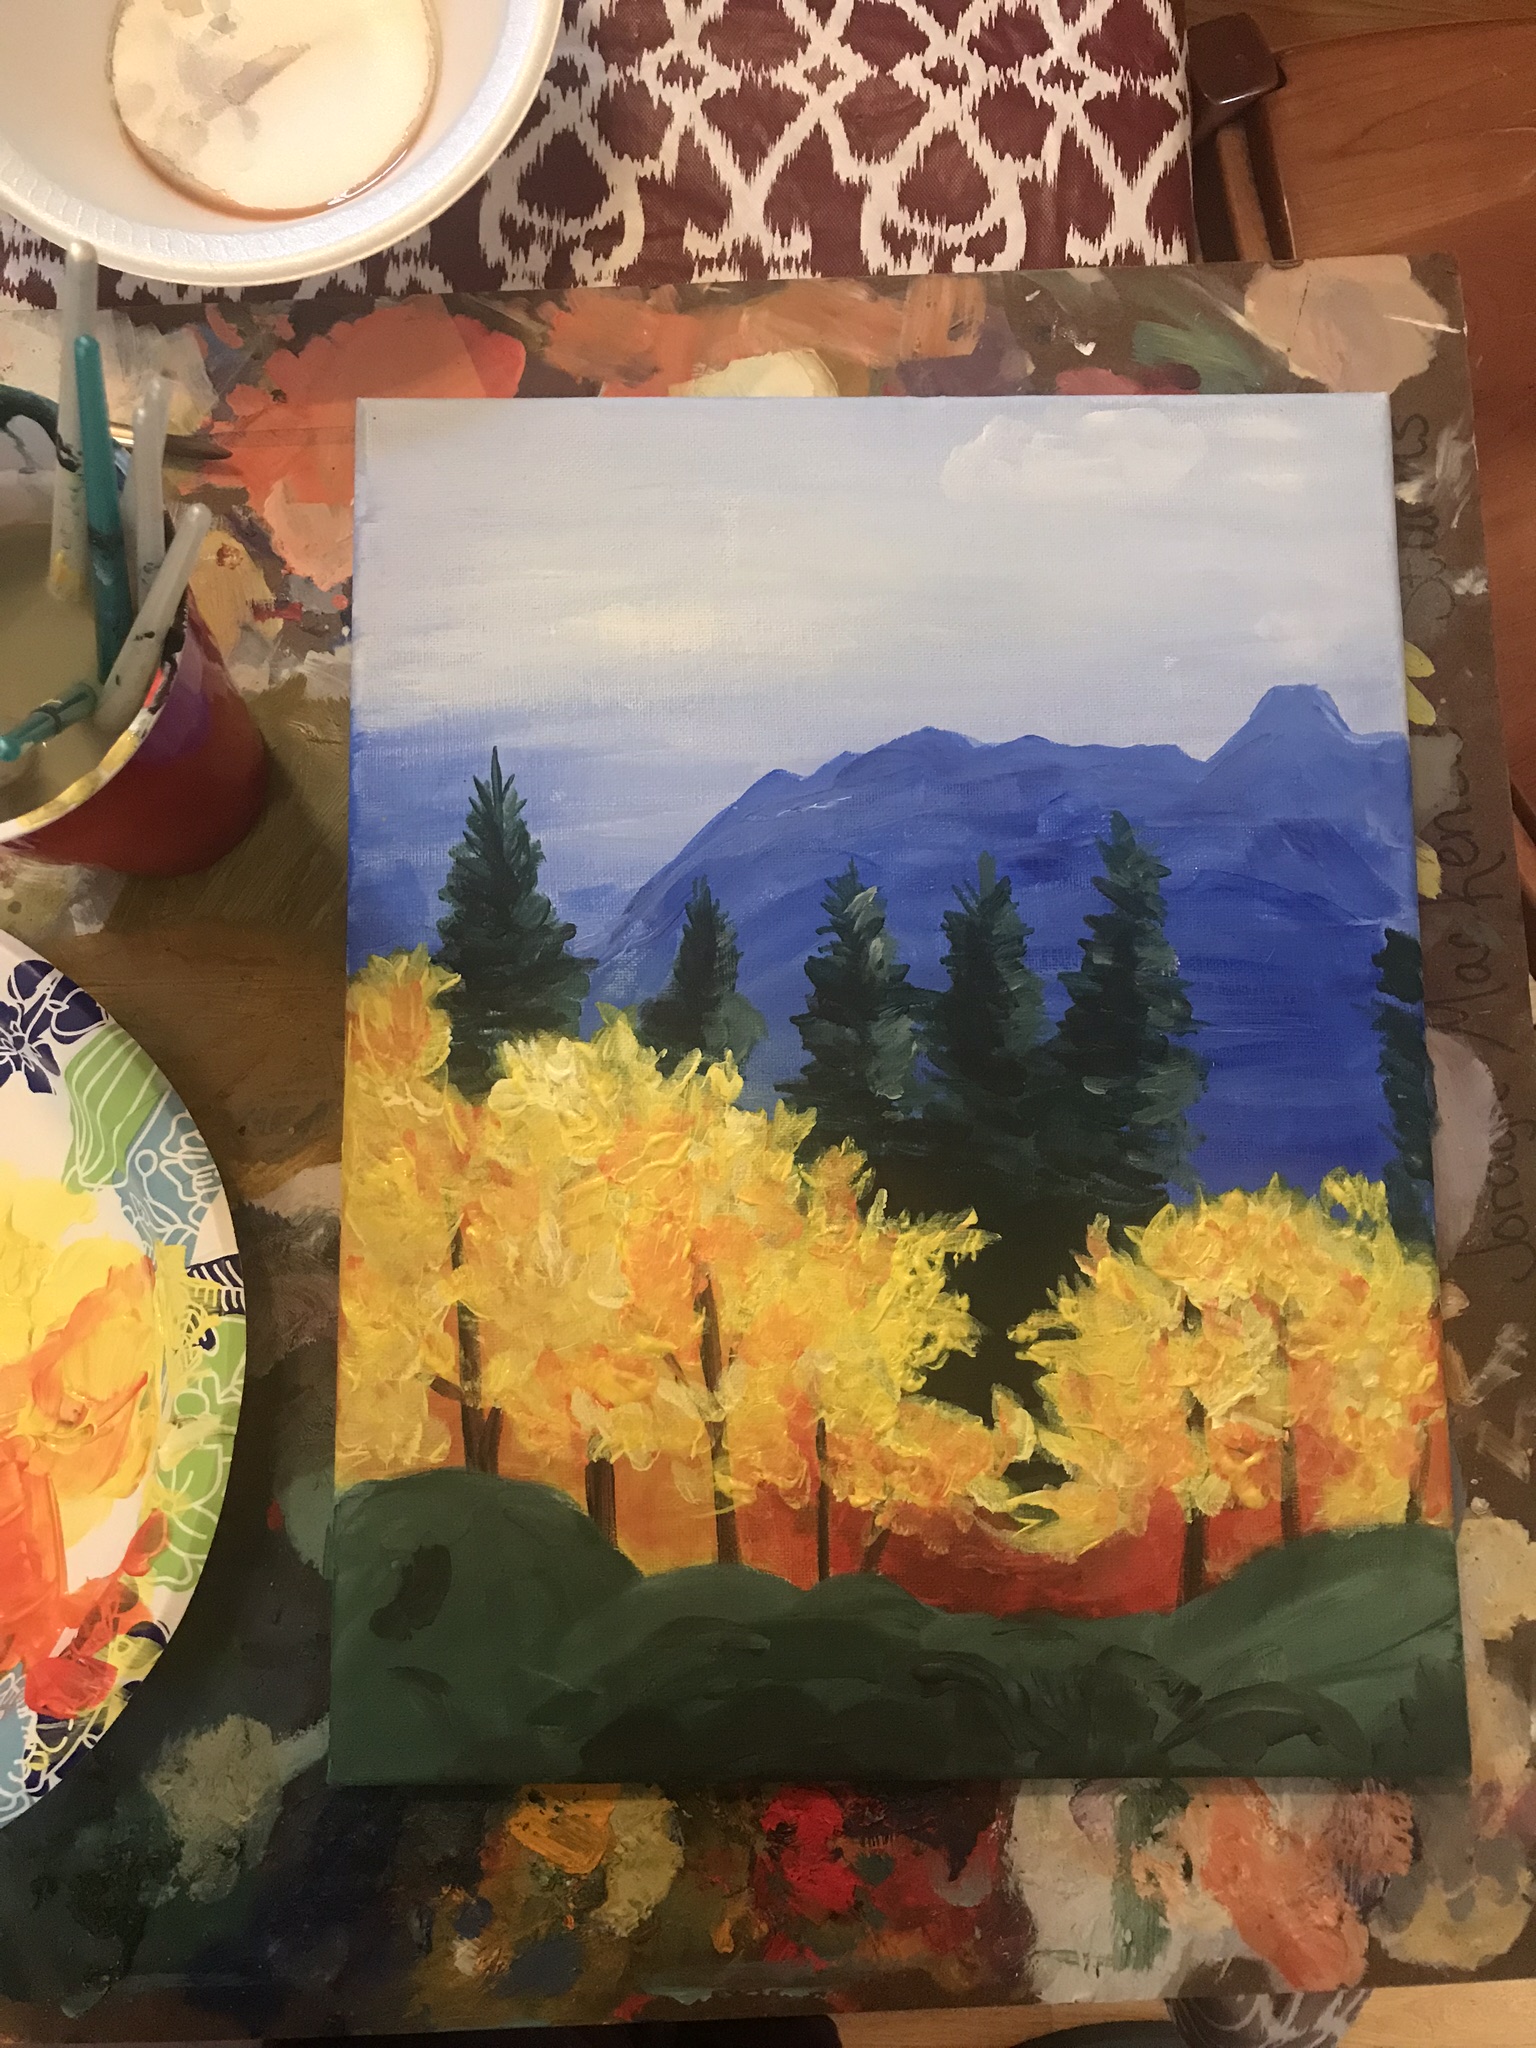
- Layer more yellow leaves by dabbing. Continue to use a variety of yellow orange shades. White and yellow mix should be concentrated at the tops of the trees. Be patient with this final step, allowing to dry and then continuing to dab on top of the previous layer to create depth.
To see more of my art, you can see my Etsy Shop: Jordy Mack Art
To set up your own “Paint and Sip” party visit the Contact page.


One Reply to “”