


If you are looking for a way to embellish your artwork with a simple, inexpensive, and fast method, READ ON!
This is an alternative to matting your piece with matboard, which is a beautiful and professional way to finish your art, but also requires more time and equipment. I use this Faux Mat method while I am creating work from my trailer or while traveling. I adopt this method when I sell my abstract landscape watercolors.
Supplies:
- The Art Piece
- Cardstock Paper (heavy weight recommended)
- Mod Podge
- X-Acto Knife
- Ruler
- Pencil
- Drafting Triangle
- Cutting Mat
- Paper Trimmer (optional)

Step One:

Cut two pieces of cardstock paper to the size you would like the total piece to be. If you want to insert the matted art into a frame, use that measurement.
I often do 5 x 5 inches, but for this particular watercolor I chose 4 x 6 inches to fit in my frame. Both of my sheets of paper are measured and cut to 4 inches by 6 inches.
Step Two


Decide where you would like the “window” to be to view your drawing. Use four pieces of scrap cardstock paper to visualize what looks best to you. Play around with it a bit.
For this watercolor, I decided to cover the uneven edges and close it in a bit.
Step Three


Measure the width and the height of the window you have created. This is the size that will be cut away, so be as precise as possible. Make sure to mark which measurement is the width, and which is the height.
Step Four

Take one of your cardstock papers, trimmed to size. Starting with the width, measure to the halfway mark and place a dot with a pencil. From that center dot, measure the width of your window, with center dot dead center. Make distinctive lines (I was taught to make a v pointing to the exact spot) on where the edges of the window will be.
My halfway mark was at 3 “. From 3″, I measured out slightly over 1″ on either side (half of 2 1/8”).
Measure again that your window is marked to the needed width (2 1/8″ for mine). Then measure that the outside edge (where the frame / white space will remain) is equal on both sides. This assures that you are centered.
Repeat for the height of your window. It’s always better to double check your marks and measurements before cutting.


When you have all the marks in place for both the width and height, draw straight lines on the markings until you have a square or rectangular. If you went with the V method, the lines will be running through the point of the “v”.
This is where I use a Drafting Triangle, to assure that my window is perfectly perpendicular. Line up one edge of the triangle to the cardstock’s OUTSIDE edge to make your line. When your window is drawn, check the inside points with the triangle’s 90 degree corner.
Step Five

Using a ruler, cut along the penciled lines. Be slow and deliberate with your cuts. You don’t want to cut past the corners. It is better to cut short and then go back in to cut further into the corners with the tip of your X-Acto knife.
Step Six
")

With the rubber cement, brush glue onto the top corners of your art piece. Try to keep the glue where you know the windowed frame of the cardstock will cover.
Carefully place the cardstock frame on top of the art piece. Pile on a couple of books and let dry.
Shout out to one of my favorite books featured in the above stack “Through Painted Deserts,” by Don Miller.

Apply a thin layer of Mod Podge** to the blank piece of cardstock paper. Place the framed watercolor on top of the backing sheet of paper. Align, then pile on books once again. Let dry.
**In this example I used Rubber Cement to adhere the cardstock together. The bond wasn’t as strong as Mod Podge. The one bonus to Rubber Cement is that the paper does not wrinkle.

Your framed artwork is now ready to go! Display by placing in a frame, hanging with clips or clothes pins, place on a miniature easel, or lean up against a row of books.


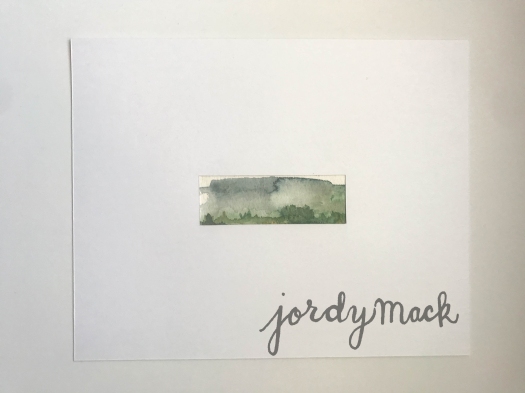
Watercolor Available for Purchase. Click this link to buy: Dusk Forest Landscape
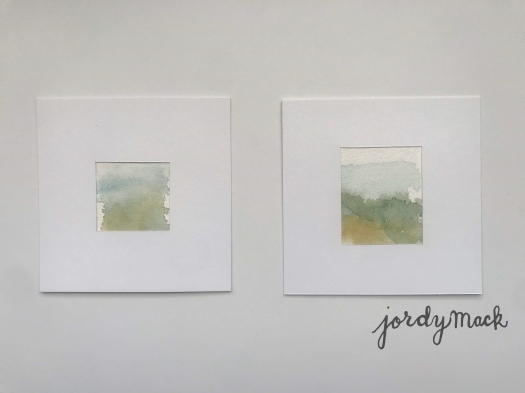

looks beautiful after framing 🙂
LikeLike